Blog· July 1, 2026
Why Click and Lock Laminate is the Lego of Home Renovation
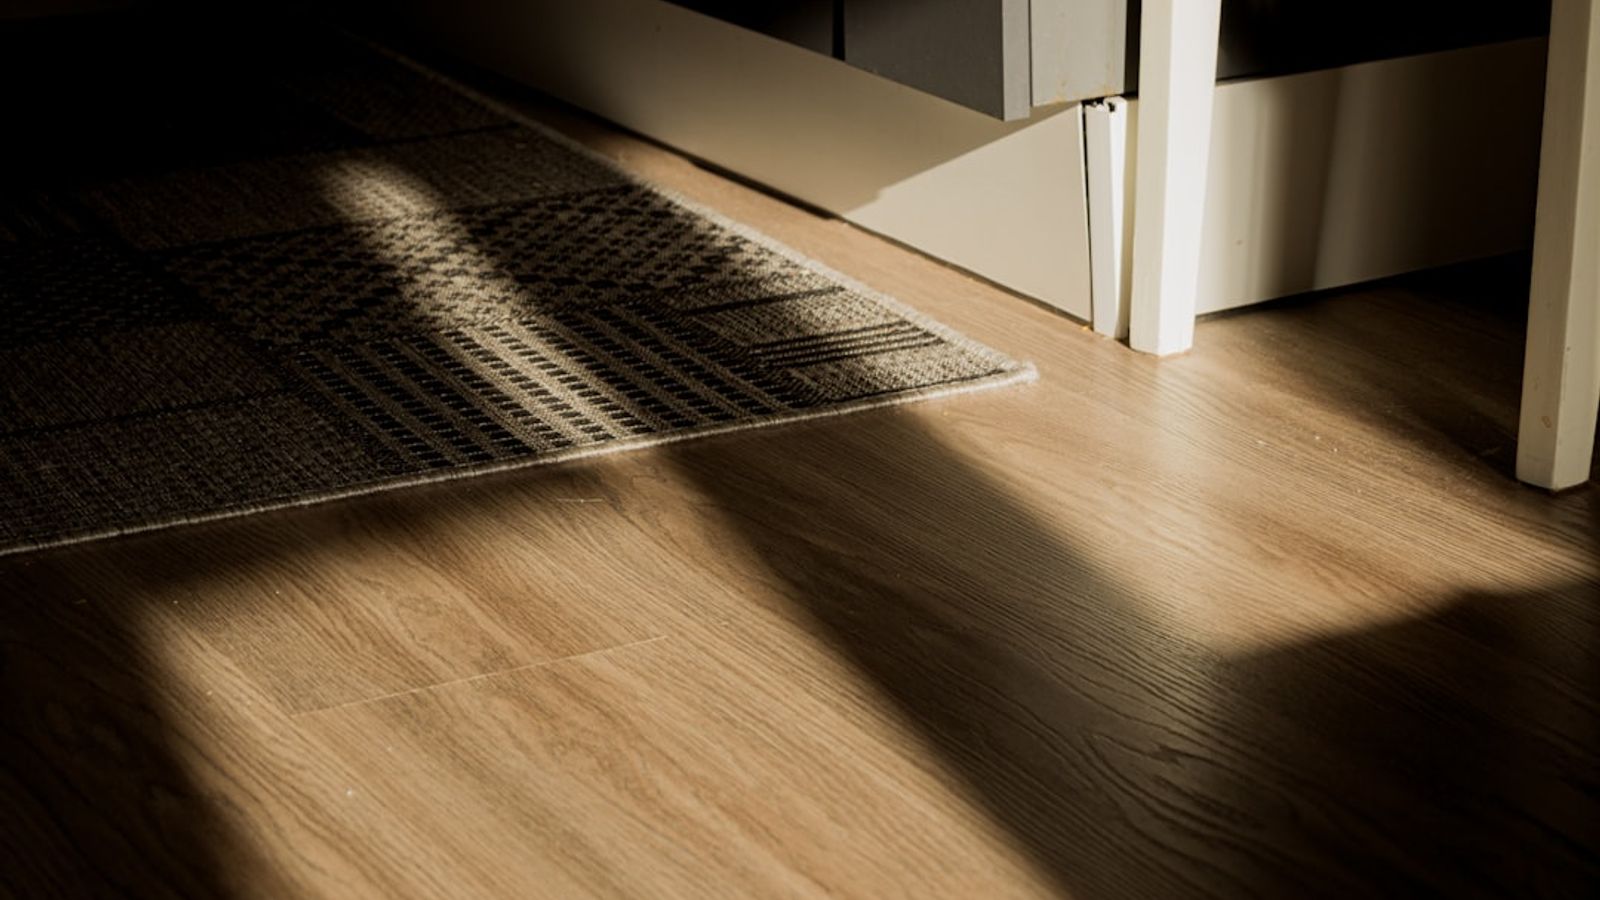
What Is Click and Lock Laminate Flooring — and Why Homeowners Love It
Click and lock laminate flooring is a floating floor system where planks snap together using a tongue-and-groove locking mechanism — no glue, no nails, no special tools required.
Here's a quick summary of what you need to know:
Feature
Details
Installation method
Planks angle or snap together; float over the subfloor
Skill level required
DIY-friendly; most homeowners can install in 1-2 days
Where it can be used
Living rooms, bedrooms, hallways, basements; waterproof versions for kitchens and bathrooms
Cost range
Roughly $1 to $3+ per sq. ft. depending on brand and features
Key benefits
Durable, scratch-resistant, eco-friendly, easy to replace individual planks
Main limitation
Requires a flat, clean, dry subfloor within 3/16 inch over 10 feet
Think of it like Lego for your floors. Each plank clicks into the next. The floor holds itself together through tension rather than adhesives — which makes it easier to install and easier to repair later.
This matters especially if you're planning to stay in your home long-term. A floor that's easy to update, kind on joints during installation, and forgiving of seasonal movement is a smart investment at any stage of life.
I'm Henry Rouhana, founder of Sure-Fix Remodeling and a general contractor with over two decades of residential renovation experience in the Lehigh Valley. I've specified and installed click and lock laminate flooring across dozens of homes, and I'll walk you through everything you need to know to choose and install it with confidence.
The Anatomy of Click and Lock Laminate Flooring: How It Works
To understand why this flooring is such a game-changer for homeowners in Easton, Bethlehem, and Allentown, we have to look at what's happening beneath the surface.
Modern click and lock laminate flooring is engineered in distinct layers, each serving a specific purpose:
The Wear Layer: A clear, incredibly tough top coat made of aluminum oxide. This layer protects the floor from scratches, stains, and UV fading.
The Design Layer: A high-resolution photographic image that realistically mimics natural wood grains, textures, and colors.
The Core Layer: The backbone of the plank, typically made of High-Density Fiberboard (HDF). This provides structural strength and impact resistance.
The Backing/Underlayment Layer: A stabilizing bottom layer that resists moisture and balances the plank. Many modern options come with a pre-attached underlayment to absorb sound and soften the feel underfoot.
The Magic of the Locking System
The real genius lies in the edges of the planks. Instead of traditional flat tongue-and-groove profiles that require glue, click-lock systems feature custom-milled profiles that snap together to create a tight, seamless bond.
There are two primary locking styles you will encounter:
- Angle-to-Angle (Uniclic): You insert the tongue of one plank into the groove of another at an angle (usually around 20 to 30 degrees), then pivot the plank flat to lock it into place. The Uniclic system is famous because it allows you to either angle the boards or slide and tap them horizontally in tight spaces.
- Drop-and-Lock (Valinge 5G): You lock the long side of the plank by angling it, and then simply drop the short end flat. A small plastic tongue or clip inside the short-end joint snaps shut with an audible "click," locking the joint securely.
You can learn more about Valinge 5G and Unilin systems to see how these advanced engineering designs make self-installation incredibly straightforward.
AC Ratings: Measuring Durability
Not all laminate is created equal. The industry uses the Abrasion Class (AC) Rating system to measure wear resistance:
- AC3: Built for residential spaces with heavy traffic (living rooms, hallways).
- AC4: Suitable for light commercial spaces or very busy homes.
- AC5: Engineered for heavy commercial use. If you have large dogs, busy kids, or high-traffic entryways, choosing an AC4 or AC5 rated plank will keep your floors looking pristine for years.
Laminate vs. SPC Core
While classic laminate relies on an HDF (wood fiber) core, Stone Plastic Composite (SPC) flooring utilizes a limestone and stabilizer core. SPC is completely waterproof and incredibly dense, making it highly resistant to heavy static weight. However, high-quality HDF laminate offers a warmer, more natural "wood-like" sound and feel underfoot.
Comparing Click-Lock to Traditional Flooring Methods
When planning a remodel in Coopersburg, Center Valley, or Phillipsburg, choosing the right installation method is just as important as choosing the style. Let's compare how click-lock stacks up against older, traditional methods:
Feature
Click-Lock (Floating)
Traditional Glue-Down
Traditional Nail-Down
Adhesive Required
None
High (Chemical glues)
None
Subfloor Types
Concrete, Plywood, Old Tile
Clean Plywood or Concrete
Wood Subfloors Only
Installation Speed
Very Fast (1-2 days)
Slow (Requires glue cure time)
Moderate to Slow
Mess & Fumes
Minimal (Just sawdust)
High (Strong glue odors)
Moderate (Nail gun noise)
Damaged Plank Repair
Easy (Unclick to replace)
Difficult (Must scrape glue)
Very Difficult (Pry up planks)
Underfoot Feel
Softer, slightly springy
Rigid and firm
Solid and rigid
Because click-lock floors "float" above the subfloor, they are not permanently attached to the house. This design allows the entire floor to expand and contract as a single unit during our humid Pennsylvania summers and freezing winters.
If you want to move away from wood-based planks entirely while keeping the click-lock convenience, you can explore interlocking wood tile options which combine unique materials with quick-assembly technology.
The lack of adhesive makes click-lock incredibly cost-effective. You save money on glue, fasteners, and specialized labor. For a look at our complete range of professional installation solutions, check out our more info about flooring services page.
Subfloor Preparation and Installation Best Practices
A click-lock floor is only as good as the subfloor beneath it. Because the planks float, any bumps, dips, or moisture issues underneath will eventually cause the joints to squeak, separate, or break under foot traffic.
1. Subfloor Flatness and Cleanliness
Your subfloor must be clean, dry, and flat. The industry standard is a tolerance of 3/16 inch over a 10-foot radius (often referred to as an F32 flatness rating).
- If you have a concrete subfloor: Use a self-leveling compound to fill in low spots and grind down high ridges.
- If you have a wood subfloor: Sand down high joints and secure loose plywood sheets with screws to eliminate squeaks.
2. Moisture Testing and Barriers
Concrete holds moisture, which can ruin an HDF core.
- Perform a calcium chloride test or use an electronic moisture meter. The Relative Humidity (RH) should not exceed 85%, and the Moisture Vapor Emission Rate (MVER) should be under 6 lbs per 1,000 sq. ft. over 24 hours.
- Always lay down a 6-mil plastic vapor barrier over concrete subfloors before installing your underlayment and laminate planks.
3. Acclimation is Non-Negotiable
Wood expands and contracts based on temperature and humidity. When your flooring arrives at your home in Hackettstown or Washington, NJ, do not install it immediately!
- Keep the closed boxes in the room where they will be installed for at least 48 hours (ideally 72 hours).
- Maintain the room's temperature between 60°F and 85°F to allow the planks to adapt to your home's natural climate.
4. Spacers and Expansion Gaps
As the seasons change, your floating floor needs room to breathe.
- Always leave a 1/4-inch expansion gap around the entire perimeter of the room, including walls, doorways, and cabinets.
- Use plastic spacer blocks to maintain this gap during installation. Once you install your baseboards or quarter-round molding, these gaps will be completely hidden.
- For very large rooms (over 65 linear feet in any direction), you will need to increase this gap to 1/2 inch or use transition moldings to divide the space.
For detailed technical specifications on substrate preparation, moisture limits, and layout calculations, you can review these detailed SPC installation instructions.
Common Installation Mistakes to Avoid
- Double Underlayment: If your laminate planks come with a pre-attached foam backing, do not install a second foam underlayment. Too much padding makes the floor bouncy, putting extreme stress on the locking joints until they snap.
- Fastening the Floor: Never nail or glue your baseboards or transition strips through the laminate into the subfloor. This locks the floor in place, preventing natural expansion and causing the planks to buckle.
- Poor Joint Staggering: Always stagger your end joints by at least 8 to 12 inches. Placing joints too close together weakens the floor's structure and looks unnatural.
Key Advantages of Click and Lock Laminate Flooring
- High Durability: The aluminum oxide wear layer resists scratches from pet claws, high heels, and toys.
- Eco-Friendly: Most laminate is made from recycled wood fibers and sustainable materials, meaning no rare or old-growth trees are harvested.
- Fade and Stain Resistance: Unlike solid hardwood, laminate won't fade under direct sunlight from your living room windows.
- Cost-Effective: You can find high-quality options ranging from entry-level selections at 99¢ per sq. ft. to premium waterproof lines around $2.79 per sq. ft.
- Easy Repairs: If a plank in the middle of your room gets damaged, you can unclick the floor from the nearest wall, replace the bad plank, and click it back together.
Step-by-Step Guide to Installing Click and Lock Laminate Flooring
Ready to tackle the installation? Here is how to get professional results:
Prep the Room: Remove existing baseboards, sweep thoroughly, and lay down your vapor barrier and underlayment (if not pre-attached).
Establish Your Starting Wall: Start in a corner, running the planks parallel to the natural light coming through your windows. Place 1/4-inch spacers against the walls.
Lay the First Row: Place the first plank with the tongue side facing the wall. Connect the second plank by angling the short end and clicking it into place.
Start the Second Row: Use the cut piece from the end of your first row (if it is at least 8-12 inches long) to start the second row. This naturally staggers your joint pattern.
Angle and Click: Insert the long tongue of the second-row plank into the first-row groove at an angle, then press flat. Use a tapping block and a rubber mallet to gently ensure the joint is completely closed.
Handle the Final Row: Measure and rip-cut the final row of planks to fit. Use a pull bar to snug the final planks into place against the wall spacers.
Finish Up: Remove all spacers. Install your baseboards and transition strips, nailing them only to the walls—never to the flooring itself.
Durability, Water Resistance, and Long-Term Maintenance
One of the biggest advancements in flooring technology is the rise of waterproof click and lock laminate flooring. Historically, water was laminate’s kryptonite. If a spill sat too long, the HDF core would swell like a sponge and ruin the floor.
Today, premium products like Pergo Outlast feature water-resistant core treatments and tight-locking joints that prevent water from seeping through to the subfloor for up to 24 hours.
Cleaning and Maintenance Best Practices
To keep your click-lock laminate looking brand new:
- Sweep or Vacuum Regularly: Dust and grit act like sandpaper under your shoes. Vacuum using the hard-floor setting (turn off the beater bar to avoid scratching).
- Use pH-Neutral Cleaners: Avoid harsh chemicals, wax, or oil soaps. A damp microfiber mop with a specialized laminate cleaner is all you need.
- Manage Spills: Even with water-resistant laminate, wipe up wet spills as soon as possible.
- Steam Mops with Caution: Only use steam mops on the lowest power setting with a soft pad, and keep the mop moving. Never let a hot steam mop sit idle on a joint.
- Protect Your Investment: Put felt furniture pads on the legs of all chairs, tables, and couches. Use oversized 2-inch protectors for heavy furniture to distribute weight evenly.
To see how we integrate these durable, low-maintenance materials into our complete home remodeling projects, explore our view our full range of services page.
Frequently Asked Questions about Click-Lock Flooring
Can click-lock laminate be installed in bathrooms and kitchens?
Yes, but you must choose a product specifically rated as waterproof laminate. During installation in wet areas, apply a flexible, 100% silicone sealant around the entire perimeter of the room (in the expansion gap) before installing your baseboards. This creates a watertight barrier that prevents moisture from getting under the floor.
Do I need a separate underlayment for click-lock laminate?
If your laminate flooring comes with a pre-attached underlayment, do not use a second foam underlayment. Doing so makes the floor too soft, which will damage the locking joints. However, if your planks do not have pre-attached padding, you must install a separate underlayment to provide thermal insulation, sound reduction, and a smooth surface.
How long does click-lock laminate flooring last?
With proper care, a high-quality click-lock laminate floor (AC3 or higher) can easily last 15 to 25+ years in a residential setting. Most reputable manufacturers offer robust warranties covering staining, fading, and wear-through under normal household conditions.
Conclusion
At Sure-Fix Remodeling, we believe home renovations should be exciting, beautiful, and built to last. Whether you are updating a family room in Bethlehem, remodeling a kitchen in Allentown, or designing a safe, beautiful aging-in-place bathroom in Easton, click and lock laminate flooring offers the perfect balance of durability, style, and value.
As a full-service remodeling company, we don't carry the massive overhead of giant design firms. Instead, we offer our clients a dedicated in-house design partnership and a local showroom where you can see, touch, and compare the latest flooring products side-by-side.
If you are ready to transform your home with beautiful, professional-grade flooring, we are here to help. Schedule a consultation at our showroom or contact us for professional flooring installation today to get started on your next project!