Blog· July 1, 2026
X Questions You Must Ask About Flooring Installation
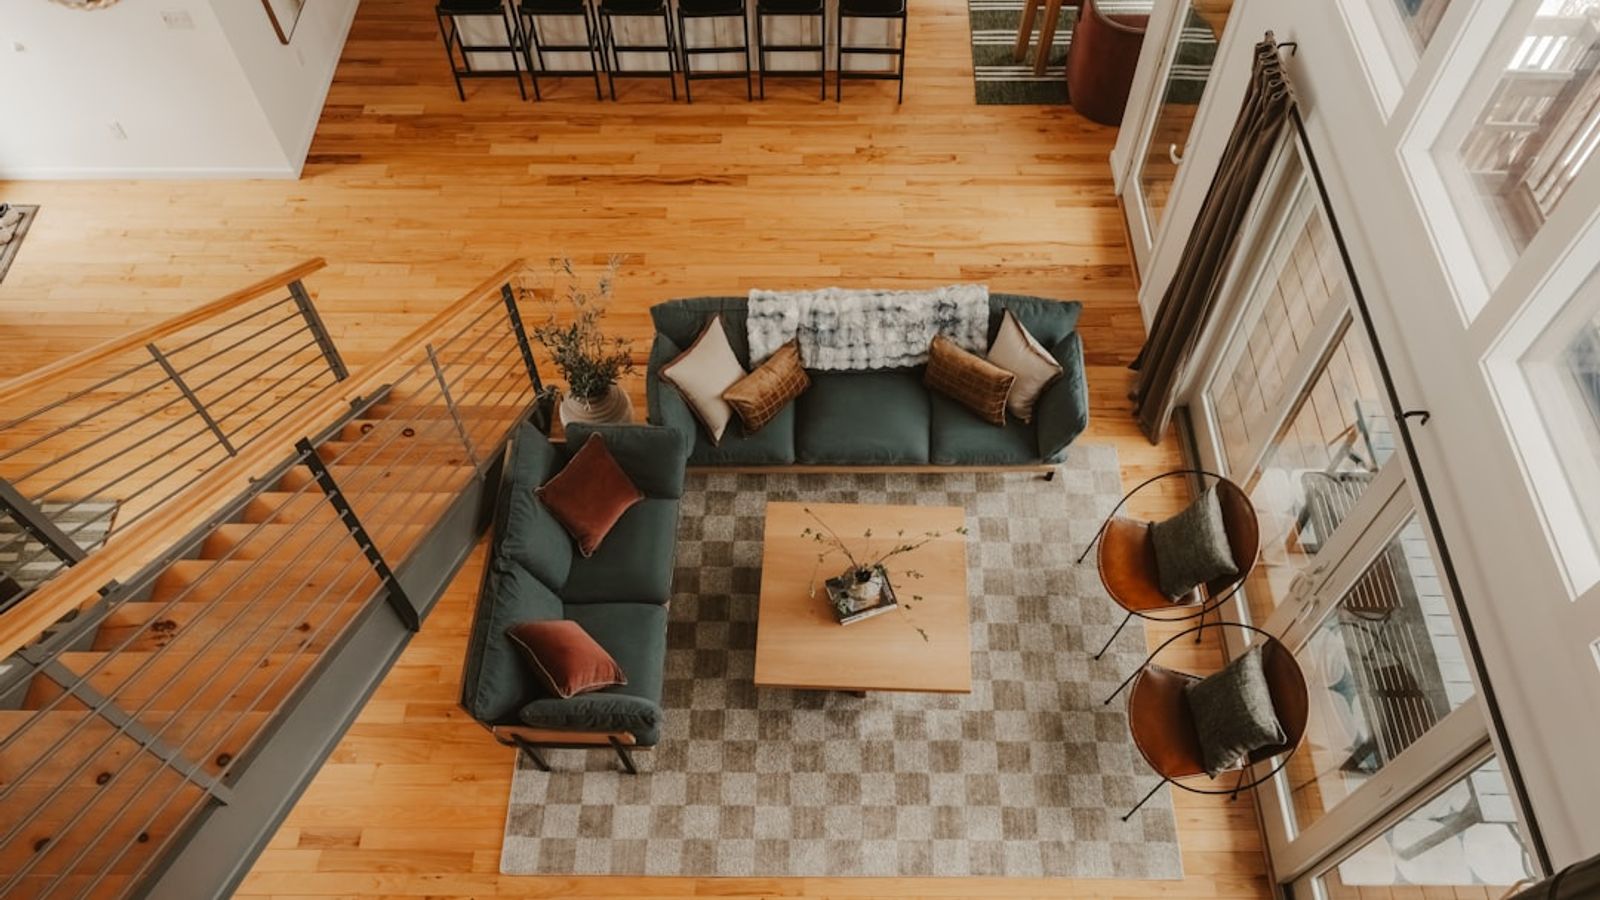
What You Need to Know Before Starting a Flooring Installation Project
Flooring installation is one of the highest-impact upgrades you can make to your home — and one of the easiest to get wrong without the right preparation.
Here's a quick overview of what the process involves:
Choose your material — hardwood, vinyl, laminate, tile, or carpet based on room needs and budget
Get a professional assessment — subfloor condition, moisture levels, and layout are evaluated
Prepare the space — furniture removed, flooring acclimated, HVAC running
Installation begins — using nail-down, glue-down, or floating methods depending on your subfloor
Final walkthrough — inspect the work, confirm transitions and trim, and get your warranty documents
Ongoing maintenance — sweep regularly, use felt pads, and control indoor humidity
The U.S. flooring market is on track to reach $15.8 billion by 2025, and it's not hard to see why. Over 60% of homeowners report feeling more satisfied with their living spaces after new floors go in. Professional installers handle roughly 70% of all flooring projects — because the details matter more than most people expect.
For homeowners planning to stay in their home long-term, the stakes are even higher. The wrong flooring choice for a bathroom or high-traffic hallway can mean slips, premature wear, or costly repairs down the road.
I'm Henry Rouhana, founder of Sure-Fix Remodeling and a licensed general contractor with over two decades of hands-on flooring installation experience across hundreds of residential projects in the Lehigh Valley. In this guide, I'll walk you through every question worth asking before your first plank goes down.
1. What Are the Best Flooring Types for My Home's Needs?
Choosing the right material is the foundation of any successful flooring project. Every home has its own rhythm — some have muddy paws tracking through the foyer, others require ultra-safe, slip-resistant surfaces for aging family members, and some simply need a luxurious, warm space to unwind.
When we work with clients in our local showroom, we help them look past the surface aesthetics. We focus on how a material handles moisture, foot traffic, and daily wear.
Comparing Durability, Maintenance, and Cost of Materials
To make an informed decision, it helps to weigh the three core pillars of any flooring investment: durability, ongoing maintenance, and up-front cost. Here is how the most common materials stack up against each other:
Flooring Type
Durability
Maintenance Requirements
Relative Cost
Expected Lifespan
Solid Hardwood
High (Can be refinished multiple times)
Moderate (Avoid standing water, sweep regularly)
High
100+ Years
Engineered Hardwood
High (More stable in humid conditions)
Moderate (Limited refinishing potential)
Medium to High
30 to 50 Years
Luxury Vinyl Plank (LVP)
Very High (Waterproof & scratch-resistant)
Low (Sweep and damp-mop)
Low to Medium
10 to 25 Years
Laminate
High (Scratch-resistant, water-resistant)
Low (Sweep, avoid wet mopping)
Low to Medium
15 to 25 Years
Ceramic / Porcelain Tile
Extremely High (Waterproof & dent-proof)
Low to Moderate (Requires grout sealing)
Medium to High
50+ Years
Carpet
Low to Moderate (Prone to staining/wear)
High (Regular vacuuming & deep cleaning)
Low to Medium
5 to 15 Years
- Solid Hardwood: The gold standard for longevity. It can increase your home's resale value by up to 2.5%, but it is sensitive to moisture and seasonal humidity changes.
- Engineered Hardwood: Real wood veneer over a highly stable composite core. It looks identical to solid wood but handles temperature and humidity fluctuations much better.
- Luxury Vinyl Plank (LVP): This has exploded in popularity, growing by roughly 15% annually. It mimics wood or stone perfectly, is 100% waterproof, and stands up to the heaviest wear and tear.
- Laminate: A cost-effective alternative to wood that offers incredible scratch resistance, though it can still be vulnerable to standing water if not properly sealed.
- Tile: The ultimate choice for wet areas. It is incredibly tough but cold underfoot and hard on joints unless paired with radiant heating.
Room-by-Room Flooring Selection Guide
No single flooring type is perfect for every room in your house. Here is how we break down the selection process room by room:
- Kitchens: This is the heart of the home, meaning high foot traffic, dropped heavy pots, and frequent spills. Luxury vinyl tile (LVT), LVP, or glazed porcelain tile are the top choices here. They clean up easily and won't warp if a dishwasher leaks.
- Bathrooms: Moisture is the absolute enemy here. Porcelain or ceramic tile remains the safest choice. If you prefer a wood look, waterproof luxury vinyl is an excellent alternative.
- Basements: Below-grade concrete subfloors are naturally prone to moisture migration. Solid hardwood should never be installed here. Instead, opt for engineered wood (if moisture levels are certified low), LVP with a robust vapor barrier, or tile.
- Living Rooms & Bedrooms: Comfort and warmth reign supreme. Solid or engineered hardwood brings timeless beauty and warmth. High-quality carpets remain a cozy bedroom favorite.
- Aging-in-Place Spaces: Safety is paramount for seniors. Slick tile and high thresholds are major falling hazards. We highly recommend slip-resistant luxury vinyl or low-pile, dense carpeting. It is also critical to eliminate transition strips between rooms to keep the floor completely flush.
If you are planning a broader home transformation alongside your new floors, you can Explore our full range of home remodeling services to see how we coordinate structural updates with beautiful finishes.
2. What Should I Expect During a Professional Flooring Installation?
Many homeowners assume that flooring is a quick, drop-and-go project. In reality, a professional flooring installation is a highly coordinated construction project. Understanding the timeline and preparing your home properly will save you stress and ensure a flawless finish.
Step-by-Step Flooring Installation Timeline and Disruptions
A typical professional installation follows a structured phase-by-step process:
Initial Consultation & Site Assessment: We measure your space, inspect the subfloor, test for moisture, and help you select materials in our showroom.
Customized Plan & Detailed Quote: You receive a comprehensive breakdown of materials, labor, subfloor prep, and trim details.
Acclimation: Wood and laminate products must sit in your home for several days prior to installation so they can adapt to your home's unique climate.
Site Preparation & Demolition: The installation crew removes existing baseboards, tears out old flooring, and addresses subfloor imperfections. This is the loudest and dustiest part of the project.
Layout & Installation: The new flooring is meticulously laid out and secured using the chosen method.
Finishing Touches: Transition strips, baseboards, and shoe moldings are installed.
Final Walkthrough: You inspect the finished work with the lead installer to ensure complete satisfaction.
Throughout this process, you should expect some level of disruption. The sound of saws, pneumatic nail guns, and floor scrapers will be loud. Dust is inevitable, though professional crews use dust-containment systems and drop cloths to protect your home.
Furthermore, your home’s heating, ventilation, and air conditioning (HVAC) system must be fully operational during the entire process. Most manufacturers, as detailed in the FloorFolio Installation Guide (2025), require indoor temperatures to remain between 60°F and 80°F, with relative humidity between 35% and 55% before, during, and after installation to prevent materials from expanding or contracting prematurely.
Homeowner Preparation Steps Before the Crew Arrives
To ensure a smooth start and protect your personal belongings, we ask our clients in Bethlehem, Allentown, and surrounding areas to complete a few preparation steps:
- Clear the Space: Remove all furniture, rugs, and decorative items from the installation zone. Don't forget to empty closet floors and low shelves!
- Remove Breakables: Take down pictures, mirrors, and delicate items from adjacent walls. Vibrations from floor removal can cause wall hangings to fall.
- Disconnect Appliances: If we are flooring your kitchen or laundry room, ensure gas lines, water lines, and electrical connections for appliances are safely disconnected before the crew arrives.
- Secure Your Pets: The noise and open doors can be highly stressful for pets. Keep them safe and secure in a separate room or arrange for them to stay elsewhere during the project.
- Designate a Work Area: Installers will need a designated outdoor space (such as a garage, driveway, or shaded yard area) to set up their saws and cutting equipment, along with access to a reliable 15- or 20-amp power source.
3. Which Flooring Installation Method is Right for My Subfloor?
No floor covering is better than the subfloor over which it is installed. Before a single plank is laid, we must carefully evaluate, clean, level, and moisture-test your subfloor.
Choosing the Right Flooring Installation Method: Nail-Down, Glue-Down, or Floating
The construction of your subfloor (concrete slab vs. wood joists) directly dictates which installation method is required for your selected material.
1. Nail-Down / Staple-Down Method
This is the traditional method for solid hardwood and many engineered wood floors. Planks are fastened directly to a wood subfloor using a pneumatic flooring nailer or stapler.
- Best For: Solid wood and engineered wood over plywood or OSB subfloors.
- Pros: Incredibly secure, permanent feel underfoot; minimal floor movement.
- Cons: Cannot be used over concrete subfloors; requires specialized tools; seasonal humidity changes can still cause minor squeaking over time.
2. Glue-Down Method
Adhesive is spread directly onto the subfloor using a notched trowel, and the flooring is set directly into the glue.
- Best For: Engineered hardwood, luxury vinyl tiles, and solid parquet over concrete or wood subfloors.
- Pros: Eliminates the "hollow" sound often associated with floating floors; highly stable; excellent for wide-plank wood installations.
- Cons: Messy and labor-intensive; difficult to remove in the future; subfloor must be absolutely clean and free of old adhesive residues.
3. Floating Floor System
The flooring planks click together and lock into place without being physically attached to the subfloor. The entire floor "floats" as a single unit over a specialized underlayment.
- Best For: Laminate, luxury vinyl planks (LVP), and click-lock engineered wood.
- Pros: Fast and clean installation; can go over almost any flat subfloor; comfortable underfoot; easier to repair or replace individual planks.
- Cons: Can feel slightly bouncy or sound hollow if a cheap underlayment is used; requires strict adherence to expansion gaps.
Regardless of the method, maintaining a proper expansion space (typically 1/2 inch) around all walls and vertical obstructions is non-negotiable. Wood and composite materials naturally expand and contract with seasonal humidity shifts. For detailed technical specifications on wood subfloor preparation, you can consult the official NWFA Wood Flooring Installation Guidelines.
Safety, Asbestos, and Lead Regulations During Subfloor Prep
When remodeling older homes in historic areas like Easton, PA, or Phillipsburg, NJ, safety and regulatory compliance are our top priorities.
- Asbestos Risks: If your home was built before 1986, old vinyl sheet flooring, floor tiles, and the black adhesive (cutback adhesive) beneath them may contain asbestos. Disturbing these materials by sanding, scraping, or tearing them up can release dangerous fibers into the air. If we suspect asbestos, we require professional testing and, if necessary, certified abatement before work begins.
- Lead Paint: Homes built before 1978 may contain lead-based paint on baseboards, doors, and trim. Removing these components during floor preparation requires strict lead-safe work practices to prevent toxic dust from spreading.
- Silica Dust: Cutting concrete subfloors, tile, or stone generates respirable crystalline silica dust, which is hazardous to the lungs. Our crews utilize wet-cutting techniques, HEPA-filtered vacuums, and appropriate personal protective equipment (PPE) to keep everyone safe.
4. What Are the True Costs, Warranties, and Maintenance Requirements?
A beautiful floor is an investment in your home's comfort and long-term value. To protect that investment, it is important to understand the full scope of your project's budget, what your warranties cover, and how to care for your floors over time.
Hidden Fees and Additional Charges Beyond the Basic Quote
When comparing flooring quotes, make sure you are comparing apples to apples. A basic "per-square-foot" price often excludes critical preparation work. Be sure to ask if your estimate includes:
- Old Flooring Removal & Disposal: Tearing up and hauling away heavy carpet, glued-down vinyl, or ceramic tile requires significant labor and disposal fees.
- Subfloor Levelling & Repair: If your subfloor is uneven, bouncy, or water-damaged, it must be repaired first. This might require installing new plywood underlayment or applying self-leveling cement.
- Stair Installation: Installing flooring on stairs is highly detailed, slow work that requires custom nose moldings and extra labor charges.
- Door Trimming: New, thicker flooring can prevent closet and passage doors from swinging freely. Doors may need to be trimmed at the bottom to fit.
- Moving Heavy Furniture: While we expect small items to be cleared, moving heavy items like pianos, pool tables, or large safes often incurs an additional fee.
To learn more about budgeting and planning for your next home upgrade, Read more home improvement tips on our blog.
Understanding Warranties, After-Service Support, and Long-Term Care
Once your floor is installed, keeping it beautiful comes down to proper care and understanding your warranty protections.
Warranties
You will typically receive two separate warranties:
Manufacturer Product Warranty: Covers defects in the material itself, such as premature wear, staining, or fading. These warranties are strictly tied to proper installation; if the floor was installed incorrectly (e.g., without moisture testing), the manufacturer will void the warranty.
Retailer/Installer Workmanship Warranty: Covers issues arising from the physical installation, such as loose transitions, buckling, or shifting boards. At Sure-Fix Remodeling, we stand behind our craftsmanship with robust after-service support.
Long-Term Care Best Practices
- Keep It Swept: Dirt and grit act like sandpaper underfoot. Daily sweeping or vacuuming (with the beater bar turned off) is the single best way to prevent scratches.
- Use Felt Pads: Place heavy-duty felt protectors under all furniture legs, and never drag heavy furniture across your new floors.
- Manage Spills Immediately: Even waterproof LVP can suffer if water seeps beneath the planks through the seams over extended periods. Wipe up spills immediately.
- Mind the Climate: For wood floors, keep your home’s relative humidity between 35% and 55% year-round. Using a humidifier in our dry Pennsylvania winters and air conditioning in humid summers prevents seasonal gapping and cupping.
Frequently Asked Questions About Flooring Installation
How long should wood flooring acclimate before installation?
Solid hardwood and engineered wood flooring must acclimate in the room where they will be installed for a minimum of 5 days (and sometimes longer depending on the species and local climate). The boxes should be stored flat, off the ground, and in a climate-controlled room. Never acclimate flooring in a damp basement or a garage.
Can engineered wood or vinyl be installed over radiant heating systems?
Yes, but with strict conditions. Engineered wood and luxury vinyl are excellent over radiant heat, but they should generally be installed using the floating method rather than being glued down, as some adhesives cannot tolerate continuous heat. Additionally, the heating system’s surface temperature must never exceed 85°F to prevent warping or adhesive failure.
What moisture levels are acceptable for subfloors before installing new floors?
For concrete subfloors, moisture emissions should not exceed 3 lbs per 1,000 sq. ft. over 24 hours using a calcium chloride test, or 75% to 90% relative humidity when using an in-slab RH probe. For wood subfloors, the moisture content must be below 12% and within 4% of the moisture content of the wood flooring being installed.
Conclusion
A successful flooring installation is the perfect marriage of high-quality materials and meticulous craftsmanship. From selecting the perfect slip-resistant surface for aging-in-place safety to executing flawless subfloor preparation, every step requires precision and local expertise.
At Sure-Fix Remodeling, we take the stress out of home transformations. Through our premium, full-service remodeling approach, we combine an in-house showroom and dedicated design partnership to bring your vision to life without the overhead of massive design firms. Whether you are remodeling a single room or planning a complete home makeover, our team is proud to serve homeowners throughout Easton, Bethlehem, Allentown, and the wider Lehigh Valley and Western New Jersey regions.
Ready to take the first step toward floors you'll love for decades? Schedule your professional flooring installation with Sure-Fix Remodeling today, or visit our showroom to explore our premium collections in person.