Blog· August 11, 2026
The Ultimate Guide to Patio Door Installation Costs & Process
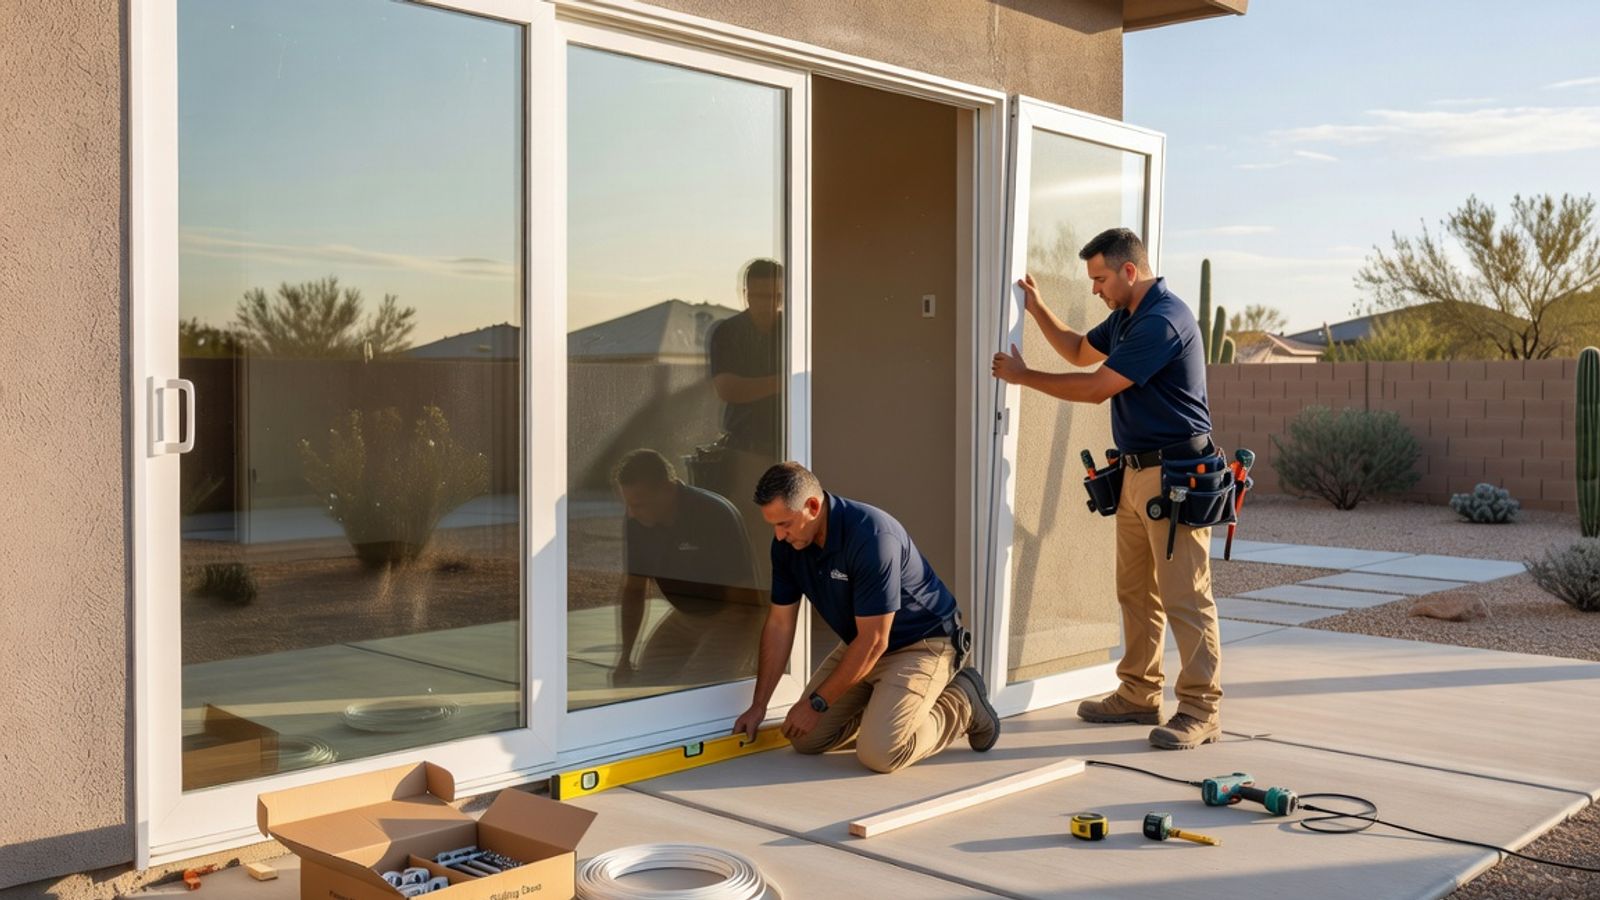
Choosing the right door starts with balancing performance, space constraints, and visual appeal. Different door configurations suit different layout needs, structural conditions, and accessible living goals.
Door Style
Typical Frame Materials
Standard Sizes
Key Advantages & Best Uses
Sliding Doors
Vinyl, Aluminum, Wood Clad, Fiberglass
60” to 96” wide (2-panel), 108” to 144” wide (3-panel); 80” to 96” tall
Saves interior and exterior floor space; smooth, predictable operation; excellent seal against wind and rain.
French Hinged Doors
Wood, Vinyl, Fiberglass, Steel
60” to 72” wide (double door); 80” to 96” tall
Classic aesthetic; opens completely for wide access; great for seamless indoor-outdoor entertaining.
Bi-Fold / Folding Doors
Aluminum, Wood Clad, Fiberglass
72” to 240”+ wide; 80” to 96” tall
Stacks fully to one side; creates expansive architectural openings; ideal for large patio views.
Selecting the Ideal Patio Door Configuration
- Sliding Doors: Sliding doors slide horizontally on tracks, so they don't require any clearance for a door swing. This makes them ideal for smaller living rooms or decks.
- French Swing Doors: Hinged French doors swing inward or outward. While they offer a wide opening for moving furniture, they require clear floor space for the door arc.
- Bi-Fold Doors: These multi-panel door systems fold like an accordion against exterior or interior walls, opening up whole sections of a room to the outside.
- Multi-Slide Doors: Featuring multiple tracks, these panels stack behind each other or slide out of sight into a wall pocket to create an open transition.
- Door Handing: Door handing is always determined when viewing the door from the outside. Knowing whether your primary active panel operates from the left or right helps you lay out light switches, furniture, and walkway paths.
Essential Tools and Materials for Patio Door Installation
Having the proper tools and materials ready prevents project delays and helps protect the building envelope from weather exposure during installation.
- High-Impact Composite Shims: Rot-proof and non-compressible compared to traditional wood shims.
- Low-Expansion Spray Foam: Formulated specifically for window and door perimeter sealing to prevent frame deflection.
- ASTM C920 Class 25 Exterior Sealant: High-grade silicone or polyurethane caulk for long-lasting waterproofing.
- 4-Foot Level and Torpedo Level: Essential for verifying plumb, level, and square alignments across all planes.
- Tape Measure: For checking diagonal variance and opening squareness.
- Cordless Drill / Impact Driver: Equipped with appropriate driver bits and masonry/wood drill bits.
- Self-Adhering Flashing Tape: Flexible, weather-resistant membrane to seal the frame perimeter into the house wrap.
- Sloped Sill Pan: Pre-formed or custom-built drainage pan with a interior upturn dam and continuous slope toward the exterior.
Mastering Patio Door Installation: Step-by-Step Process
A high-performing patio door installation requires careful attention to waterproofing, structural fastening, and thermal sealing. For comprehensive manufacturer guidelines on non-impact and impact-resistant units, refer to the Assembled Patio Door Installation Guide Non-Impact & Impact-Resistant 2-Panel Door with Welded Frame 70 Series.
Step 1: Rough Opening Preparation and Sizing
Before removing a unit, verify that your replacement door matches the rough opening.
Measure Dimensions: The rough opening width should be 1/2” to 1” wider than the exterior frame of the door, and the height should be 1/4” to 1/2” taller.
Check Squareness: Measure diagonally from top-left to bottom-right, and top-right to bottom-left. Diagonal measurements must match within 1/8” to 1/4” for the opening to be square.
Prepare House Wrap: Cut the weather-resistant barrier (WRB) at 45-degree angles at the top corners to fold back a head flap. Peel back the WRB approximately 1-1/2 inches along the side jambs to expose raw sheathing for sealant attachment. Learn more about structural updates on our Exterior Remodeling page.
Step 2: Waterproofing with Sill Pans and Flashing
Sill pans divert incidental water away from the floor framing and subfloor.
Install the Sill Pan: Place a pre-formed or flexible-membrane sill pan directly over the subfloor threshold. The pan must feature a continuous 1/2” interior upturn dam and a 2” exterior downturn flange.
Apply Sealant: Run three continuous 3/8” beads of ASTM C920 sealant along the length of the subfloor. When placing the sill pan, leave a 2-inch void in the exterior sealant bead roughly 2 inches from each corner to serve as a weep drainage path. For detailed flashing diagrams on vinyl units, review the 2-LITE VINYL PATIO DOOR guide.
Step 3: Frame Setting, Leveling, and Fastening
Never push a patio door frame directly onto a bare subfloor without mechanical support and levelling adjustments.
Dry-Fit and Level: Place high-impact composite shims near the corners of the sill pan location so the door frame sits level and plumb.
Tilt Unit Into Place: With a partner, lift the prehung unit, set the bottom edge into the sill pan, and tilt the top in toward the house.
Shim the Frame: Place composite shims approximately every 12 inches along the side jambs directly behind pre-punched installation holes. Avoid shimming within 4 inches of corners to allow for natural vinyl expansion.
Drive Fasteners: Secure the frame using corrosion-resistant screws (minimum 1-1/4” structural penetration into wood framing). Drive 3-inch anchor screws through the lockside striker plate directly into solid framing to keep the jamb from bowing under load. Consult the Lowe's Installation Instructions for specific fastening schedules.
Step 4: Perimeter Insulation and Hardware Adjustments
A weather-tight seal relies on appropriate insulation materials that don't warp or twist the vinyl frame.
Insulate Perimeter: Apply low-expansion closed-cell spray foam into the interior gap between the jamb and framing. Closed-cell foam provides a thermal insulation value of at least R-5 per inch and will not bow the jambs.
Adjust Rollers: Use a hand screwdriver to turn the adjustment screws located at the base of the active sliding door panels. Turning clockwise raises the panel; turning counterclockwise lowers it.
Allow Pressure Equalization: If your door unit features factory integrated blinds between the glass, avoid raising or lowering them for 24 hours after installation to allow internal glass pressure to balance out. Reference the SLIDING PATIO DOOR INSTALLATION GUIDE for technical details on hardware setup.
Troubleshooting and Quality Control
Taking time to perform functional quality checks prevents long-term operational headaches and water infiltration risks.
Common Mistakes to Avoid During Patio Door Installation
- Using Standard High-Expansion Spray Foam: Standard expanding foam can exert enough pressure to bow door jambs outward, binding operating panels and preventing the door from locking correctly. Always look for AAMA 812-compliant low-expansion window and door foam.
- Inserting Single-Wedge Wood Shims: Single wedge shims create an angled contact surface that twists the door frame over time. Always stack flat shims or pair wedge shims in opposing, plane-to-plane directions.
- Screwing Fasteners Through the Bottom Sill: Driving screws directly through the horizontal bottom track punctures the waterproofing plane and leads to subfloor rot.
- Omitting a Sloped Sill Pan: Relying solely on caulk under the bottom sill will eventually fail. A sloped sill pan provides essential back-up protection. For pocket multi-slide systems, check the Assembly and Installation Instructions to ensure proper track drainage.
Maintenance and Post-Installation Roller Fine-Tuning
- Roller Adjustments: If an active panel drags against the track or feels heavy to slide, lift the panel's weight slightly with a pry bar or suction cup while adjusting the bottom roller screws.
- Track Cleaning: Keep bottom tracks clear of gravel, dirt, and pet hair by vacuuming them regularly and wiping them down with a mild soap solution. Never use heavy grease, which attracts dirt.
- Striker and Keeper Alignment: Periodically check that lock hooks drop cleanly into the jamb keeper. Adjust keeper positioning vertically or horizontally if the latch catches or fails to lock smoothly.
DIY vs. Professional Installation: When to Hire an Expert
While intermediate DIYers can replace a standard prehung sliding door in a straightforward opening, complex projects require professional assistance.
You should hire a licensed contractor if your project involves:
- Modifying Load-Bearing Wall Framing: Cutting studs to widen an opening requires temporary shoring, header calculations, and structural framing.
- Creating Flush Low-Threshold Transitions: Installing zero-step threshold transitions for aging-in-place compliance requires custom floor joist recessing and advanced subfloor drainage prep.
- EPA Lead-Safe RRP Compliance: Homes built before 1978 may contain lead paint, requiring specialized containment, safety equipment, and certified removal procedures.
- Masonry and Concrete Slab Anchoring: Setting doors into concrete foundations requires masonry anchors, specialized liquid sill flashings, and precise floor leveling.
If you are replacing non-flanged retrofits, refer to the INSTALLATION INSTRUCTIONS for Vinyl Patio Doors without Nailing Fin (JII015). You can explore full structural options on our Services - Exterior page.
Frequently Asked Questions
How much larger should a rough opening be than the patio door?
A rough opening should be 1/2 inch to 1 inch wider and 1/4 inch to 1/2 inch taller than the overall door frame unit. This margin allows enough room to square, level, and shim the door frame while leaving space for perimeter foam insulation.
What type of spray foam should be used around door frames?
Only use low-expansion polyurethane spray foam designed specifically for windows and doors (conforming to AAMA 812 standards). Closed-cell low-expansion foam provides air sealing and high thermal insulation (R-5 per inch) without exerting force that distorts or bows the vinyl or wood frame.
How do you properly adjust sliding patio door rollers?
Locate the access holes on the lower edge of the active panel's side stiles. Insert a #2 or #3 Phillips screwdriver and turn the adjustment screw clockwise to raise the door panel, or counterclockwise to lower it. Adjust both sides until the vertical edge of the door aligns evenly with the jamb weatherstripping from top to bottom.
Conclusion
A successful patio door installation protects your home from water damage, reduces drafty air leaks, and opens up your living spaces to the outdoors. By choosing the right door style, carefully prepping the rough opening, installing a continuous sill pan, and using low-expansion insulation, you ensure smooth performance for years to come.
At Sure-Fix Remodeling, we help homeowners across Eastern Pennsylvania and Western New Jersey transform their homes with high-performance window upgrades, custom exterior remodels, and accessible aging-in-place solutions. Ready to improve your home's comfort, energy efficiency, and outdoor access? Explore Our Remodeling Services or Contact Us today to schedule a consultation with our renovation team!