Blog· July 13, 2026
A Practical Guide to Barrier Free Bathroom Design
Why Barrier Free Bathroom Design Matters More Than You Think
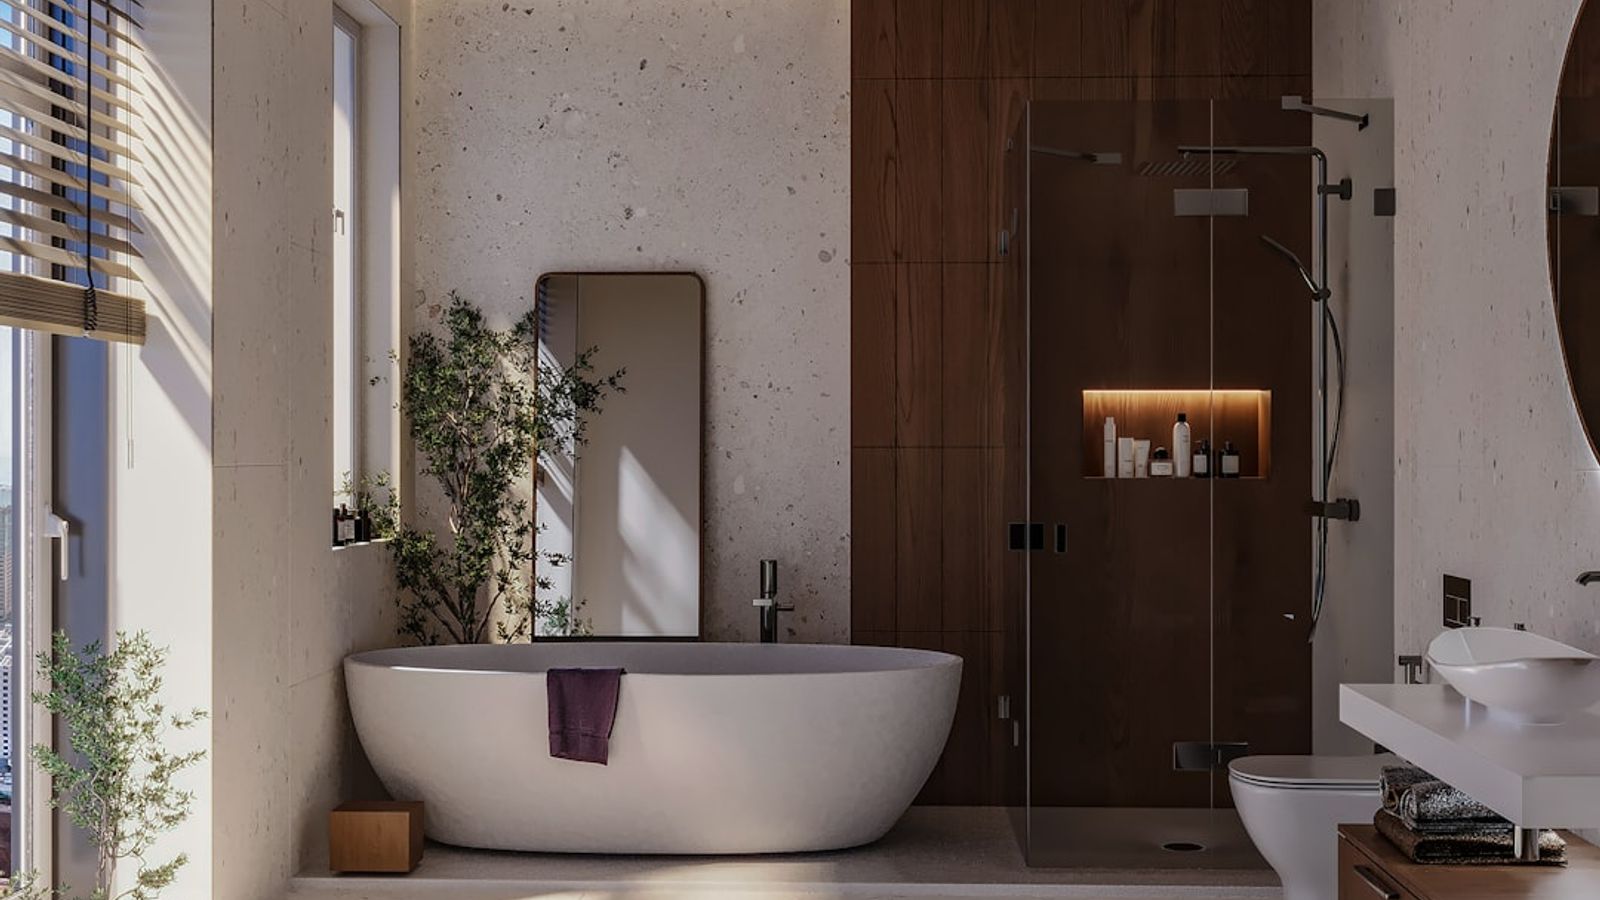
Barrier free bathroom design is the practice of creating a bathroom that anyone can use safely and independently — regardless of age, mobility level, or physical ability — by eliminating steps, narrow passages, and awkward fixtures that cause accidents.
Here's what barrier-free bathroom design means in practice:
Feature
What It Means
Zero-threshold entry
No step or curb to cross into the shower
Wider doorways
At least 32–36 inches clear for mobility aids
60-inch turning radius
Enough floor space for a wheelchair to turn
Comfort-height fixtures
Toilets and sinks at accessible heights
Grab bars
Anchored support at shower, toilet, and tub
Non-slip flooring
Slip-resistant surfaces throughout wet areas
Lever-style controls
Faucets and hardware operable with one hand
The numbers are hard to ignore. 80% of falls at home happen in the bathroom, and bathroom falls are nearly two and a half times more likely to cause injury than falls in other parts of the house. For homeowners in their 50s and 60s thinking about staying in their homes long-term, this isn't a distant concern — it's a present one.
The good news? A well-designed barrier-free bathroom doesn't look clinical or institutional. It looks like a beautifully designed bathroom that happens to work for everyone — today and decades from now.
I'm Henry Rouhana, founder of Sure-Fix Remodeling and a general contractor with over 20 years of experience delivering high-end bathroom transformations, including complex barrier free bathroom design projects across the Lehigh Valley. In this guide, I'll walk you through every decision you need to make — from spatial dimensions and shower design to fixtures, lighting, and real costs.
Understanding Barrier Free Bathroom Design vs ADA Compliance
When planning an accessible remodel in Pennsylvania or New Jersey, homeowners often ask us if their new bathroom has to be "ADA-compliant." The short answer is no, but understanding the difference between ADA standards and universal design will save you time, money, and headaches.
The Americans with Disabilities Act (ADA) establishes strict, legally mandated design requirements for public accommodations and commercial spaces. While these guidelines are incredibly useful as a reference, they are not legally required for private residential homes.
Instead, residential projects focus on universal design principles. Universal design is about creating spaces that are usable by everyone—children, busy parents, multi-generational families, and seniors aging in place—without the need for adaptation or specialized, clinical-looking equipment.
Feature
Residential Universal Design
ADA Compliance (Commercial)
Legal Mandate
None (voluntary for homeowners)
Strictly enforced by law
Aesthetics
Highly customizable, stylish, luxury focus
Often institutional, standardized finishes
Flexibility
Temporary or adjustable features (e.g., track-mounted accessories)
Fixed, rigid specifications
Layout Focus
Comfort, style, and multi-generational usability
Strict clearance and reach minimums
By incorporating ADA-inspired concepts into a residential layout, you get the best of both worlds: maximum safety and high-end home comfort. To dive deeper into how these standards translate to residential spaces, you can review the comprehensive layout strategies in Chapter 6: Bathrooms – The UD Project.
Key Spatial Dimensions and Layout Requirements
A successful barrier free bathroom design is built from the subfloor up. You cannot simply swap out a few fixtures and call a bathroom accessible; you must plan the entire footprint around how a human body—or a mobility aid—moves through space.
To ensure your bathroom layout accommodates everyone, we design according to the industry-standard Bathroom Planning Guidelines established by the National Kitchen & Bath Association (NKBA). These guidelines prioritize clear floor spaces and smooth transitions.
Doorways and Turning Radii for Barrier Free Bathroom Design
The journey into an accessible bathroom begins at the door. Standard residential bathroom doors are often a narrow 24 to 28 inches wide. For a barrier-free space, this simply will not work.
- Doorway Width: You need a minimum of 32 inches of clear opening width. To achieve this, we typically install a 34-inch or 36-inch door frame.
- Door Swing: Standard doors that swing inward eat up precious floor space and can create a dangerous entrapment hazard if someone falls inside the room. We highly recommend pocket doors or barn-style sliding doors. If a swinging door is necessary, ensure it swings outward into the hallway.
- Turning Space: Inside the bathroom, a wheelchair or walker user needs a 60-inch diameter turning circle (or a T-shaped backing space) to turn 180 degrees comfortably.
If you are planning accessibility upgrades across your entire home, you can learn more about wider clearances and open-concept layouts in our guide to Barrier-Free Kitchen design.
Fixture Clearances and Transfer Spaces
Every major fixture—the toilet, the sink, and the shower—requires its own dedicated clear floor space. These clearance areas can overlap, which is how we are able to design highly functional, barrier-free bathrooms even in smaller footprints.
- Toilet Clearance: You must provide at least 48 inches of clear floor space in front of the toilet bowl, with 32 inches of unobstructed space on at least one side to allow for a wheelchair transfer.
- Sink Approach: A clear floor space of 30 by 48 inches is required centered at the sink to allow either a forward or parallel approach.
- Wall-Hung Fixtures: Utilizing a wall-hung toilet and a floating vanity is a fantastic design trick. By elevating these fixtures off the floor, you create extra foot and wheel clearance underneath, making the entire room feel larger and much easier to clean.
Designing the Ultimate Curbless Shower
The shower is the centerpiece of any modern barrier free bathroom design. Traditional tubs and high-threshold shower pans are major tripping hazards. Replacing them with a seamless, zero-entry curbless shower is the single best upgrade you can make for safety and style.
Creating a true curbless entryway requires precise structural planning. If you are interested in converting an old tub into a seamless walk-in shower, explore our detailed breakdown of the Barrier-Free Shower conversion process.
Shower Dimensions and Slope Requirements
To build a curbless shower that drains perfectly without spilling water into the rest of the bathroom, we must carefully manage the floor geometry.
Shower Size: For a comfortable roll-in or transfer configuration, the shower floor area should be at least 36 by 60 inches (or 48 by 48 inches).
The Slope: The shower floor must slope subtly toward the drain at a ratio of 1/4 inch per foot (approximately a 2% slope).
Recessing the Subfloor: To achieve a zero-threshold entry where the bathroom floor tile meets the shower floor tile completely flush, we must recess the shower floor into the home’s wood joist framing.
Using specialized linear drains allows us to slope the floor in a single direction toward the wall, rather than creating a traditional "bowl" slope toward a center drain. This makes it much easier to lay modern, large-format tiles. If you want to see how these dimensions look in a real home, check out our guides on the 60 x 36 Walk-In Shower.
Essential Features for a Barrier Free Bathroom Design Shower
A great curbless shower is defined by its hardware and safety features:
- Handheld Showerheads: Install a handheld showerhead with a flexible hose of at least 59 inches. This should be mounted on an adjustable slide bar so it can be reached easily from both a standing and seated position. You can read more about standard sizes in our guide on the 36-Inch Walk-In Shower.
- Shower Seating: We prefer fold-down seats mounted directly to the wall over bulky plastic chairs. When not in use, they fold flat against the wall, keeping the shower space completely open.
- Thermostatic Valves: These valves prevent accidental scalding by maintaining a consistent water temperature, even when water pressure drops elsewhere in the house. We always offset the shower controls near the entrance so you can turn on the water and adjust the temperature without getting wet.
Accessible Sinks, Toilets, and Ergonomic Fixtures
Ergonomics play a massive role in daily comfort. When we design a barrier-free bathroom, we select fixtures that reduce physical strain and accommodate different physical postures.
To see how modern manufacturers design fixtures specifically for future adaptability, take a look at the innovative planning checklists provided by Planning a barrier-free bathroom | Geberit USA.
Toilet Specifications and Grab Bar Placement
Standard toilets are often too low, making it difficult for individuals with knee or hip pain to sit down and stand up safely.
- Comfort-Height Toilets: We install toilets with a seat height of 17 to 19 inches from the floor (matching the height of a standard chair) to make transfers much easier.
- Wall Reinforcement (Blocking): Before we install new drywall or tile, we always reinforce the wall framing with 2x10 wood blocking or 1/2-inch plywood backing between 18 and 48 inches from the floor. This structural backing ensures that grab bars can be anchored securely anywhere they are needed, supporting up to 400 pounds of force.
- Grab Bar Placement: Grab bars should be installed horizontally behind the toilet (minimum 24 inches long) and beside the toilet (minimum 32 inches long) at a height of 33 to 36 inches from the floor.
Accessible Sinks and Vanities
A standard vanity blocks wheelchair users from getting close to the sink basin. An accessible design solves this with clever cabinetry and plumbing.
- Knee Clearance: We install wall-mounted sinks or open-front vanities that provide a minimum of 29 inches of vertical knee clearance and 30 inches of horizontal width underneath.
- Concealed Traps: Standard p-trap plumbing under a sink can get hot and scrape a user's legs. We use specialized concealed traps or space-saving drain kits that route the plumbing tight against the back wall, and we always insulate the hot water lines.
- Faucets: Ditch the traditional twist knobs. Single-lever handles, touchless motion-activated faucets, or electronic sensor taps are much easier to operate for anyone with limited hand dexterity or arthritis.
Safety, Lighting, and Aesthetic Integration
Safety is our number one priority, but we refuse to sacrifice style. A barrier-free bathroom can—and should—look like a high-end spa.
- Non-Slip Flooring: Slippery glossy tiles have no place in a bathroom. We recommend textured porcelain tiles or small-format mosaic tiles. Smaller tiles mean more grout lines, which naturally increases traction underfoot.
- Color Contrast: High visual contrast helps individuals with low vision or cognitive impairments navigate the space safely. For example, using a dark tile on the floor and light tile on the walls makes the transition between horizontal and vertical planes highly visible.
- Layered Lighting: Falls often happen in dim light. We install a combination of overhead ambient lighting, dedicated task lighting at the vanity, and wet-rated LED lighting inside the shower. We also install motion-activated low-voltage nightlights to safely guide the way during midnight visits.
If you are ready to swap out an old, dangerous tub for a modern, safe walk-in design, see how we execute these upgrades in our guide on the Bathroom Remodel Tub to Walk-In Shower process.
Frequently Asked Questions about Barrier-Free Bathrooms
What is the average cost of a barrier-free bathroom remodel?
A professional, high-quality accessible bathroom remodel typically ranges between $6,000 and $36,000, depending on the size of the space, the complexity of the plumbing modifications (such as recessing the subfloor for a curbless shower), and the quality of the finishes. While it is a significant investment, designing for accessibility from the start prevents the incredibly expensive mistake of having to tear apart a standard remodel later when physical needs change.
Can a barrier-free bathroom still look modern and stylish?
Absolutely. By using premium systems like Schluter®-Systems for continuous waterproofing and sleek linear drains, we can run beautiful, large-format tiles seamlessly from the bathroom floor right into the shower. High-end hardware brands like Pressalit offer modular, track-mounted support arms and seats that look incredibly modern and can be easily adjusted or removed entirely when guests visit.
Are there grants or tax reliefs available for accessibility remodels?
Yes. Depending on your location in Pennsylvania or New Jersey, there are several financial assistance options. Many states offer assistive technology grants, Medicaid home-modification waivers, or VA grants (such as the HISA grant) for veterans. Additionally, some medical-necessity renovations may qualify for tax deductions or local property tax relief.
Conclusion
Building a barrier-free bathroom is one of the most rewarding home improvement projects you can undertake. It is an investment in your safety, your independence, and the long-term value of your home.
At Sure-Fix Remodeling, we don't believe in clinical, cookie-cutter solutions. Through our local showroom and design partnership, we work closely with you to select premium materials, plan perfect layouts, and deliver beautiful, full-service renovations without big-firm overhead. Whether you are in Easton, Bethlehem, Allentown, or Phillipsburg, we are here to help you build a home that works for you today—and for years to come.
Ready to transform your space? Explore our Bathroom Remodeling Services or contact us today to schedule a consultation at https://surefixremodelinglv.com/services/bathroom.